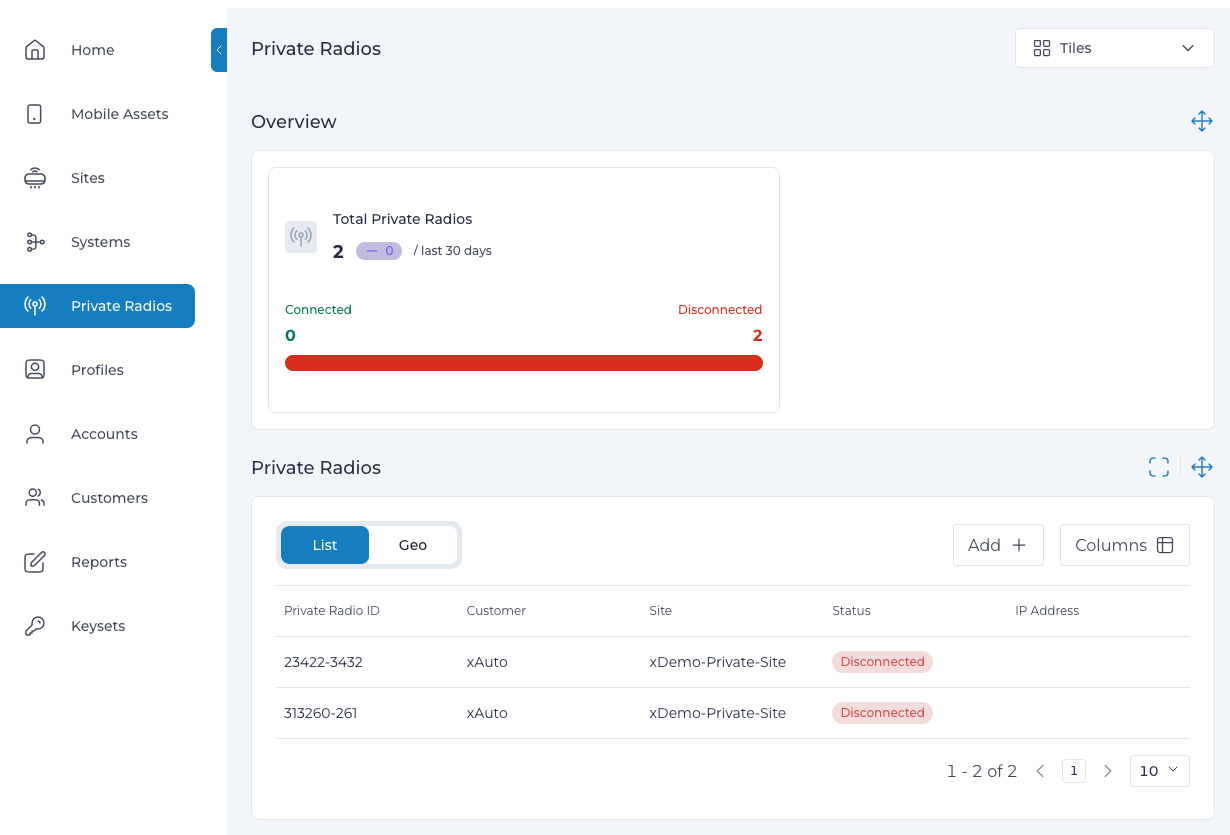
Private Radios⚓︎

The Manage Private Radios page provides tools for administering optional eNodeB/gNodeB radios within the Expeto xControl system. These radios can be added, enabled, disabled, or removed and are used to facilitate communication between 4G/5G devices and the Expeto xCore if they are part of the network configuration.
This page allows administrators to configure new Private Radios with unique identifiers, manage their operational states (enable/disable), and remove radios as needed. Real-time status updates indicate whether a Private Radio is connected, disconnected, enabled, or disabled, providing a streamlined way to manage this optional component of the network infrastructure.
Private Radio Status⚓︎
The following statuses describe the operational state of a Private Radio:
| Status | Description |
|---|---|
| Enabled | The Private Radio configuration has been added to the Site and is waiting to connect with the physical unit. |
| Disabled | The Private Radio is configured in the System but will not accept connections. |
| Connected | The connection between the Expeto xCore and the Private Radio is established. |
| Disconnected | The connection between the Expeto xCore and the Private Radio is broken. |
Add a New Radio⚓︎

To add a new Private Radio, you must provide a unique identifier in the format:
<PLMN>-<Cell ID>
- PLMN: The Public Land Mobile Identifier, which consists of:
- MCC (Mobile Country Code): A 3-digit code representing the country.
- MNC (Mobile Network Code): A 2-3 digit code identifying the network carrier.
- Cell ID: A 1-6 digit identifier for the specific cell tower.
Example
The identifier 54206-123 breaks down as follows:
- 542: MCC for Fiji.
- 06: MNC for the fictional FijiFone Carrier.
- 123: Cell tower identifier.
Steps to Add a Private Radio⚓︎
- Navigate to Private Radios in the Expeto xControl menu.
- Click Add to open the New eNodeB page.
- Enter the eNodeB/gNodeB identifier in the required format.
- Select the Customer associated with the Private Radio.
- Choose the relevant Site where the Private Radio will be deployed.
- Set the initial Status to Enabled or Disabled.
- Optionally, provide the Longitude and Latitude of the Private Radio’s geographical location.
- Click Submit to save the new Private Radio configuration.
Enable or Disable a Radio⚓︎
- Click the eNodeB ID. The details of the eNodeB appear.
- Click Edit.
- Select State Enable or Disable.
- Click Submit.
Remove a Radio⚓︎
- Click the eNodeB ID. The details of the eNodeB appear.
- Click Delete.